

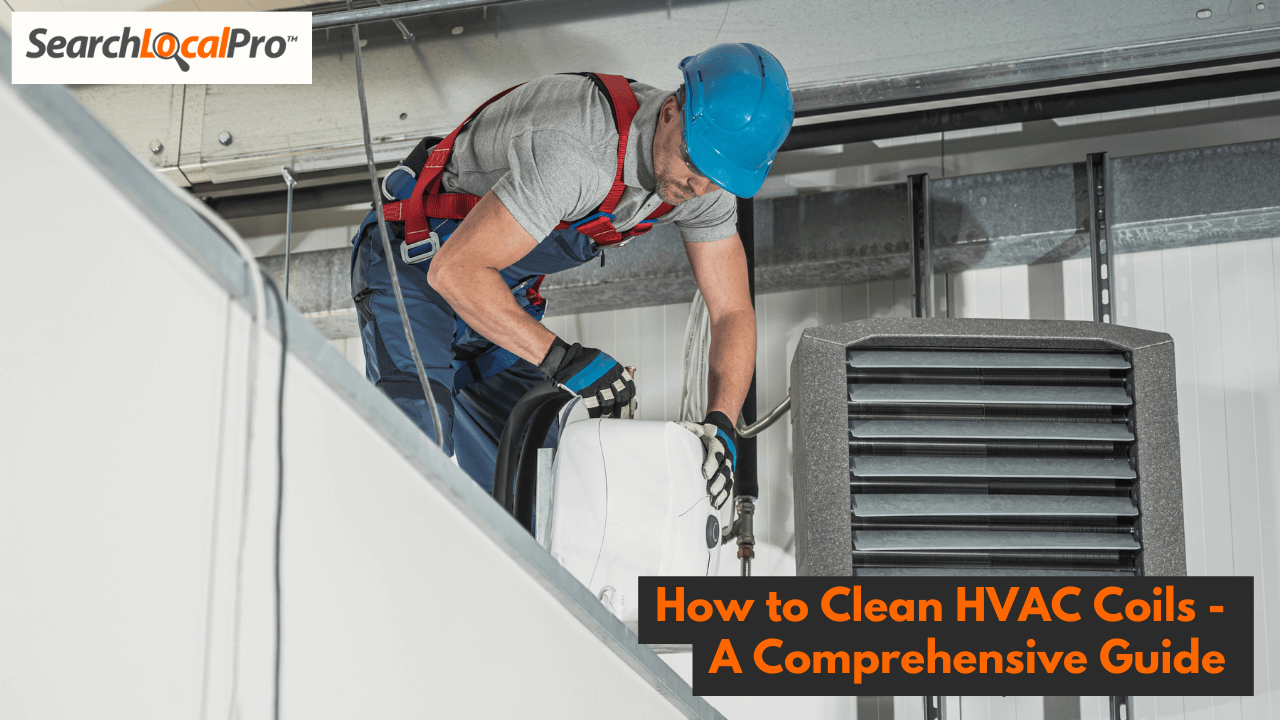
Keeping your home cool and comfortable during the summer months relies heavily on your HVAC system functioning efficiently. Dirty HVAC coils, however, can significantly hinder this efficiency, leading to higher energy bills, reduced cooling capacity, and even potential health issues. How to clean HVAC coils is a crucial maintenance task that any homeowner can learn to perform, ensuring optimal performance and a breath of fresh air in your home.
This comprehensive guide will equip you with the knowledge and confidence to tackle how to clean HVAC coils yourself. We’ll delve into the different types of coils, the importance of cleaning them regularly, the tools you’ll need, and a step-by-step breakdown of the cleaning process. Additionally, we’ll discuss when professional intervention might be necessary and offer valuable insights on how often you should clean your HVAC coils for optimal performance.
Types of HVAC Coils
There are two main types of coils found in your HVAC system:
- Evaporator Coil: Located indoors within the air handler unit, the evaporator coil absorbs heat and moisture from the air circulating through your home. This coil is typically made of copper with thin aluminum fins that maximize heat transfer.
- Condenser Coil: Situated outdoors in the condenser unit, the condenser coil releases the heat extracted by the evaporator coil into the external environment. Condenser coils are often constructed with sturdier copper tubing and thicker aluminum fins compared to evaporator coils, as they’re exposed to the elements.
Why it is Important to Clean HVAC Coils?
Clean evaporator and condenser coils are essential for efficient HVAC operation. Here’s why:
- Improved Efficiency: Dirt, dust, and debris buildup on the coils acts as an insulator, hindering heat transfer. This forces your HVAC system to work harder to maintain the desired temperature, resulting in increased energy consumption and higher utility bills.
- Enhanced Cooling Capacity: Clean coils allow for optimal airflow which translates to better cooling performance. A dirty coil restricts airflow, leading to reduced cooling capacity and a lukewarm home, especially on scorching days.
- Better Air Quality: A clogged evaporator coil can trap dust, allergens, and even mold spores, which can then be circulated throughout your home. Regular cleaning helps maintain healthy indoor air quality.
- Extended System Lifespan: Overworked and inefficient systems due to dirty coils are more prone to wear and tear, leading to premature breakdowns and costly repairs. Regular cleaning helps extend the lifespan of your HVAC system.
Must Read: When to repair your HVAC system
Tools Required for HVAC Coils Cleaning
Before diving into the cleaning process, ensure you have the necessary tools:
- Screwdriver: A screwdriver will be needed to access the coil compartment on your air handler unit.
- Shop Vacuum: A shop vacuum with a hose attachment is ideal for removing loose debris from the coils.
- Soft-Bristled Brush: A soft-bristled brush, like a paintbrush, is used for gently cleaning the delicate fins on the coils.
- Garden Hose with Spray Nozzle: A garden hose with a spray nozzle allows for rinsing the coils after applying the cleaning solution.
- Coil Cleaner: A commercially available HVAC coil cleaner formulated for safe and effective coil cleaning is recommended. You can also create a DIY cleaning solution using a 50/50 mix of white vinegar and water (consult your HVAC system manual for compatibility).
- Safety Glasses and Gloves: Wearing safety glasses and gloves protects your eyes and hands while cleaning.
- Drop Cloth (Optional): A drop cloth placed under the air handler unit can help catch any drips during the cleaning process.
How to Clean HVAC Coils: A Step-by-Step Guide
Now that you’re armed with the necessary tools, let’s delve into the step-by-step process of how to clean HVAC coils:
- Turn Off the Power: Safety first! Ensure your HVAC system is completely turned off at the thermostat and disconnect the power supply at the breaker box.
- Locate the Air Handler Unit: The air handler unit is typically located inside your home, often in a basement, closet, or attic. Consult your HVAC system manual for its exact location.
- Access the Coils: Locate the access panel or screws securing the air handler unit’s front cover. Carefully remove the cover to expose the evaporator coil.
- Pre-Cleaning: Use the shop vacuum with the hose attachment to remove any loose debris like leaves, dust bunnies, and cobwebs from the coil and surrounding areas.
- Gently Straighten Bent Fins (Optional): Over time, the delicate aluminum fins on the coils can bend due to various factors. If you notice any bent fins, use a fin comb (available at hardware stores) or a butter knife (be extremely gentle) to carefully straighten them in the same direction.
- Apply Coil Cleaner: Shake the coil cleaner well and follow the manufacturer’s instructions for application. Typically, you’ll want to spray the cleaner liberally onto the entire coil surface, ensuring it reaches between the fins. Avoid soaking the electrical components near the coil.
- Let the Cleaner Sit: Allow the coil cleaner to sit for the recommended time specified on the product label. This allows the cleaner to break down dirt, grime, and mold spores effectively.
- Rinse the Coils: Carefully use the garden hose with a spray nozzle to rinse the coil cleaner and loosened debris from the coils. Ensure the spray isn’t too strong to avoid bending the fins. Start from the top and work your way down, allowing the dirty water to drain out of the condensate pan located beneath the coil.
- Re-Inspect the Fins: After rinsing, inspect the fins for any remaining debris or stubborn dirt. If necessary, use the soft-bristled brush to gently remove any remaining grime. Be very careful not to force the brush through the fins, as this can damage them.
- Let the Coils Dry Completely: Before reassembling the air handler unit, allow the coils to dry completely. This can take several hours, depending on airflow and humidity levels. You can use a fan to speed up the drying process.
- Replace the Access Panel and Restore Power: Once the coils are dry, carefully reattach the access panel to the air handler unit and secure it with the screws. Finally, turn the power back on at the breaker box and restart your HVAC system at the thermostat.
When to Clean HVAC Coils?
The frequency of cleaning your HVAC coils depends on several factors, including:
- Climate: Homes in dusty or pollen-rich environments may require more frequent cleaning compared to those in cleaner areas.
- Pet Ownership: Pets can shed fur and dander, which can accumulate on the coils, necessitating more frequent cleaning.
- System Usage: Homes that heavily rely on their HVAC system year-round will likely require more frequent cleaning compared to those with moderate usage.
As a general rule, it’s recommended to clean your evaporator coil at least once a year, preferably before the peak cooling season. If you fall under any of the categories mentioned above, consider cleaning your coils twice a year for optimal performance.
When to Replace HVAC Coils?
While regular cleaning can extend the lifespan of your HVAC coils, there are situations where replacement might be necessary. Signs indicating coil replacement include:
- Extensive Physical Damage: If the fins are severely bent or corroded beyond repair, replacing the coil is recommended.
- Reduced Cooling Capacity: Even after cleaning, if your HVAC system struggles to maintain the desired temperature, it could be a sign of failing coils.
- Leaking Refrigerant: Damaged coils can leak refrigerant, a hazardous material that requires professional attention.
When to Call a Professional?
While cleaning your HVAC coils is a manageable DIY task, there are situations where calling a professional is recommended:
- Difficult Access: If accessing the coils requires specialized tools or navigating tight spaces, consider hiring a qualified HVAC technician.
- Complex Systems: For complex HVAC systems or those with advanced features, it’s best to leave the cleaning to a professional to ensure proper handling.
- Suspected Coil Damage: If you suspect significant physical damage to the coils or a refrigerant leak, professional assistance is crucial.
Find an HVAC Professional Near You
Conclusion
Maintaining clean HVAC coils is an essential aspect of homeowner maintenance. By following the steps outlined in this guide on how to clean HVAC coils, you can ensure your system operates efficiently, improves indoor air quality, and extends its lifespan. Remember, consistent cleaning and professional intervention when necessary will contribute to a comfortable and healthy home environment.

