

A well-functioning kitchen exhaust fan is essential for any commercial kitchen. Whether it’s a restaurant, a hotel kitchen, or a cafeteria, having a reliable exhaust fan ensures proper ventilation and air quality, which is crucial for both safety and comfort. In this guide, we’ll walk you through everything you need to know about commercial kitchen exhaust fan installation. From understanding the components of the system to step-by-step installation instructions, this guide is designed to be easy to follow.
Why is a Commercial Kitchen Exhaust Fan Important?
Before diving into the installation process, let’s take a moment to understand why a commercial kitchen exhaust fan is so important.
- Air Quality: Cooking generates heat, smoke, and grease vapors, which can make the kitchen air unhealthy. An exhaust fan removes these pollutants, improving air quality.
- Temperature Control: A kitchen can get very hot, especially during peak hours. Exhaust fans help regulate the temperature by expelling hot air.
- Grease and Fire Safety: Cooking with oils and fats produces grease vapors that can stick to kitchen surfaces. An exhaust fan pulls these vapors out of the kitchen, reducing the risk of grease buildup, which is a fire hazard.
- Compliance: Most local health codes and fire regulations require commercial kitchens to have a proper ventilation system in place.
Now that you understand the importance of a kitchen exhaust fan, let’s move on to the installation process.
Components of a Commercial Kitchen Exhaust System
Before you start the installation, it’s essential to familiarize yourself with the different parts of a commercial kitchen exhaust system. Understanding each component will help ensure a smooth installation process.
- Exhaust Hood: This is the part of the system that hangs over the cooking equipment and captures the smoke, grease, and hot air. It’s usually made of stainless steel for durability and easy cleaning.
- Ductwork: The ducts carry the air and smoke from the hood to the outside of the building. They should be fire-resistant and designed to handle high heat and grease vapors.
- Exhaust Fan: The fan is responsible for pulling air through the hood and pushing it out of the kitchen. There are different types of fans, including upblast and downblast fans, which we’ll discuss later.
- Grease Filters: These filters capture grease from the air before it enters the ductwork. This prevents grease buildup inside the ducts, which could become a fire hazard.
- Makeup Air Unit: Commercial kitchens need a steady supply of fresh air to replace the air that’s being exhausted. A makeup air unit provides this fresh air, ensuring proper ventilation and maintaining indoor air quality.
Types of Exhaust Fans
There are different types of exhaust fans available, and the one you choose will depend on the size and needs of your commercial kitchen.
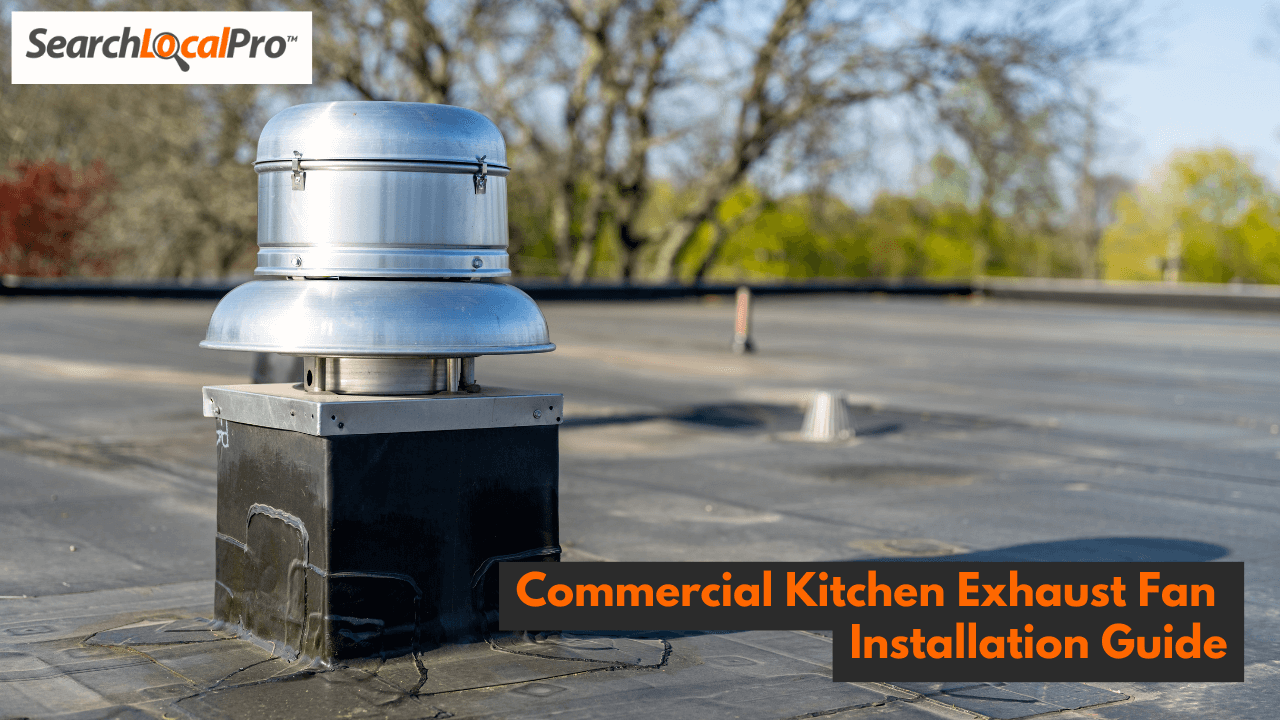
- Upblast Exhaust Fan: This fan is installed on the roof of the building and pulls air upwards, expelling it outside. It’s the most common type used in commercial kitchens because it effectively removes hot air and grease vapors from the building.
- Downblast Exhaust Fan: This fan expels air downwards, making it suitable for kitchens where upward venting is not possible. However, it’s less common because it can push grease-laden air onto surfaces outside the building.
- Inline Exhaust Fan: This fan is installed within the ductwork and is often used in larger commercial kitchens that need additional ventilation power. It can be used in combination with an upblast or downblast fan for maximum efficiency.
Step-by-Step Guide to Installing a Commercial Kitchen Exhaust Fan
Now that you know the key components and types of exhaust fans, let’s walk through the installation process. Always ensure you follow local building codes and regulations when installing a commercial kitchen exhaust system. If you’re not confident in your abilities, hiring a professional HVAC technician is recommended.
Step 1: Plan the Installation
Planning is crucial to ensure the system functions efficiently. During the planning phase, consider the following:
- Location of the Exhaust Hood: The hood should be positioned directly over the cooking equipment. Ensure that it covers the entire cooking area to capture all the smoke and grease.
- Ductwork Path: Plan the path for the ductwork to ensure that it leads the exhaust outside the building. Avoid long or complex duct paths as they reduce the efficiency of the system.
- Roof Access for Fan Installation: If you’re installing an upblast exhaust fan, make sure you have safe access to the roof.
- Power Supply: Ensure there’s a dedicated electrical circuit for the exhaust fan. The fan should not share a circuit with other kitchen equipment to avoid overloading the electrical system.
Step 2: Install the Exhaust Hood
- Mount the Hood: Secure the exhaust hood to the ceiling or wall above the cooking equipment. Ensure it’s level and securely fastened using heavy-duty bolts. The height of the hood should be in accordance with local regulations, typically around 6-7 feet from the cooking surface.
- Connect the Grease Filters: Install the grease filters inside the hood. These should be easily removable for cleaning.
- Check for Proper Sealing: Use heat-resistant caulk to seal any gaps between the hood and the wall or ceiling. This prevents air leaks and ensures that the exhaust fan works efficiently.
Step 3: Install the Ductwork
- Cut Openings for the Ducts: Measure and cut openings in the ceiling, wall, or roof for the ductwork. Ensure that the openings align properly with the exhaust hood and fan.
- Install the Duct Sections: Attach the duct sections to the exhaust hood and secure them with metal screws. Use fire-resistant duct tape or sealant to cover any joints and ensure the ductwork is airtight.
- Create a Straight Path: The ductwork should follow a straight path to the outside as much as possible. Sharp turns reduce airflow and can cause grease buildup. If turns are necessary, use gradual bends instead of sharp angles.
Step 4: Install the Exhaust Fan
- Position the Fan: For an upblast fan, install it on the roof at the end of the ductwork. Use a fan curb (a raised frame) to mount the fan securely on the roof. If you’re installing a downblast or inline fan, position it according to your planned ductwork path.
- Secure the Fan: Use heavy-duty brackets or bolts to secure the fan in place. Ensure that the fan is level and stable to prevent vibrations.
- Connect the Ductwork to the Fan: Attach the ductwork to the fan’s intake and secure it with metal screws. Seal all connections with duct tape or sealant to prevent air leaks.
- Install a Grease Trap: For upblast fans, install a grease trap at the base of the fan to capture any grease that may escape from the exhaust. This prevents grease from dripping onto the roof.
Step 5: Connect the Power
- Run Electrical Wiring: Run the electrical wiring from the exhaust fan to the designated power supply. Ensure the wiring is protected using conduit to prevent damage.
- Install a Switch: Install a dedicated switch for the exhaust fan in the kitchen. The switch should be easily accessible to kitchen staff.
- Connect the Makeup Air Unit: If your system includes a makeup air unit, connect it to the power supply as well. The makeup air unit should be synchronized with the exhaust fan to ensure that fresh air is supplied as the fan removes air.
Step 6: Test the System
- Turn on the Exhaust Fan: Once everything is installed and wired, turn on the exhaust fan to test its functionality. Make sure the fan is pulling air through the hood and expelling it outside.
- Check for Air Leaks: Inspect the ductwork and hood for any air leaks. If you notice any, seal them with duct tape or caulk.
- Test the Makeup Air Unit: If you have a makeup air unit, test it to ensure that it’s supplying fresh air to the kitchen.
Step 7: Perform Regular Maintenance
Once the system is installed and functioning, regular maintenance is essential to keep it running smoothly.
- Clean the Grease Filters: Clean or replace the grease filters regularly to prevent grease buildup and maintain air quality.
- Inspect the Ductwork: Check the ductwork for grease buildup and clean it as needed. Grease buildup inside the ducts is a fire hazard.
- Service the Exhaust Fan: Schedule regular maintenance for the exhaust fan to ensure it’s operating efficiently. A professional technician can inspect the fan and make any necessary repairs.
Conclusion
Installing a commercial kitchen exhaust fan is a complex process that requires careful planning and attention to detail. By following this guide, you can ensure that your kitchen ventilation system is safe, efficient, and compliant with local regulations. If you’re unsure about any part of the installation process, it’s always a good idea to consult with a professional HVAC technician to ensure everything is installed correctly. A well-installed exhaust fan system not only improves air quality but also enhances safety and ensures a comfortable working environment for your kitchen staff.

