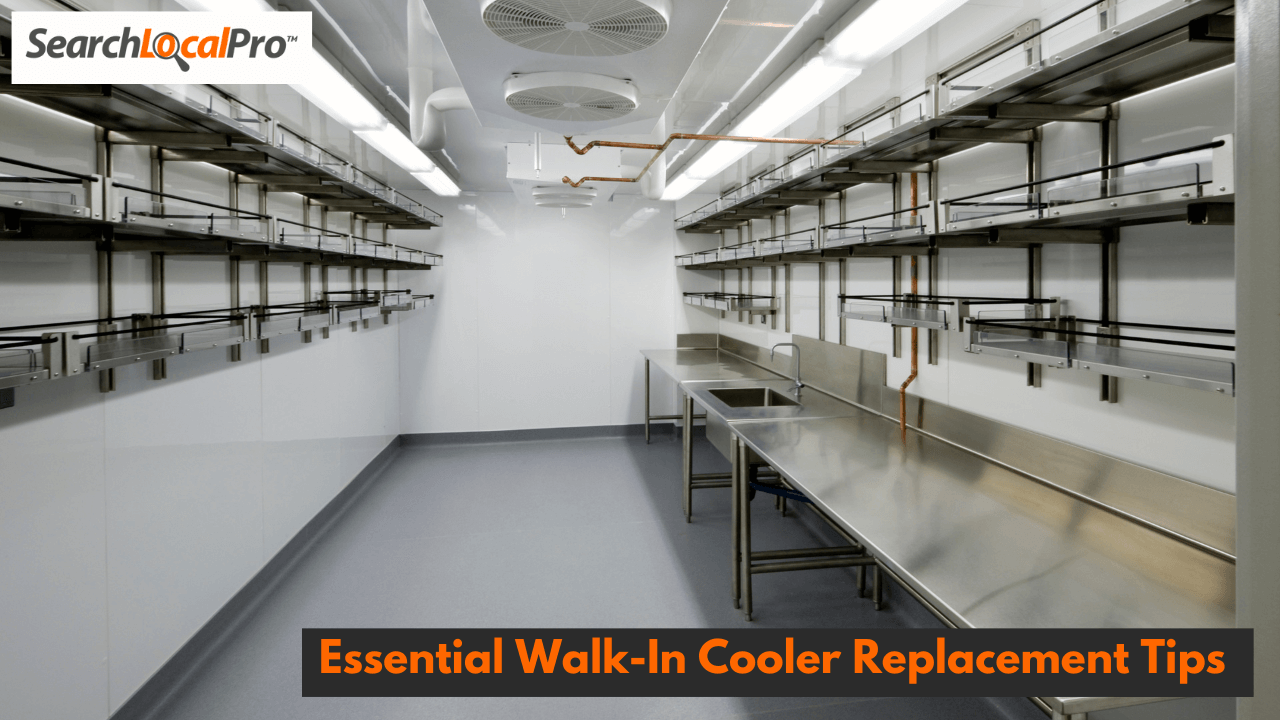
Replacing a walk-in cooler is a major decision that impacts the efficiency and functionality of your business operations. A smooth replacement process not only ensures optimal cooling but also minimizes downtime and avoids unnecessary costs. By evaluating your specific needs, inspecting existing infrastructure, and following a systematic approach, you can make the transition seamless and hassle-free.In this article, we’ll explore top walk-in cooler replacement tips.
Whether you’re replacing an outdated cooler or upgrading to a more energy-efficient model, these tips will guide you through every step of the process. Let’s dive into the details.
Walk-In Cooler Replacement Tips
1. Assess Your Needs
Before choosing a new walk-in cooler, it’s crucial to evaluate your specific requirements. This step ensures that your investment aligns with your operational needs and budget.
Size Requirements
Evaluate the amount of storage space required for your business. Consider your current inventory levels and anticipated future growth. For example, a bakery might need additional space for seasonal increases in product demand, while a restaurant may require consistent storage for perishable ingredients.
Temperature Needs
Identify the ideal temperature range for your products. Different industries, such as healthcare, food service, and retail, have specific cooling requirements. For instance, pharmaceuticals require precise temperature control, whereas grocery stores may need broader temperature ranges for various items.
Usage Frequency
Consider how often the cooler will be used daily. High-traffic coolers in busy kitchens or grocery stores demand units with robust durability and superior energy efficiency. Opt for heavy-duty designs if frequent use is a factor.
2. Inspect the Existing Infrastructure
A thorough inspection of your current setup ensures that your new walk-in cooler integrates seamlessly. Key areas to examine include:
Flooring and Walls
Inspect the condition of the flooring and walls where the cooler will be installed. Reinforced or structural floors may be required to support heavy loads, such as carts and shelving. Damaged or weak flooring should be repaired or upgraded.
Electrical System
Assess whether your existing electrical system can handle the power requirements of the new unit. Inadequate wiring or outdated panels may need upgrading to ensure safe and efficient operation.
Refrigeration Lines
Inspect refrigeration lines for wear and tear. If they are outdated or damaged, plan to replace them to prevent leaks and ensure optimal cooling performance. High-quality lines can reduce energy loss and improve efficiency.
3. Choose the Right Replacement Unit
Selecting the right replacement unit is vital for achieving optimal performance and cost-effectiveness. Consider the following:
Energy Efficiency
Opt for units with energy-efficient compressors, insulation, and fans. Energy-efficient models not only reduce operational costs but also contribute to environmental sustainability.
Brand and Warranty
Choose a reputable brand known for reliability and quality. A comprehensive warranty is essential to protect your investment and provide peace of mind in case of unexpected issues.
Custom Features
Modern walk-in coolers come with advanced features like built-in shelving, smart lighting systems, and monitoring tools that track temperature and energy use. These features can enhance functionality and convenience.
4. Hire Experienced Professionals
Proper installation is critical for the efficient functioning of your walk-in cooler. Collaborate with experienced professionals who specialize in HVAC and refrigeration systems. Key considerations include:
- Licensing and Certification: Ensure the contractor is licensed and certified to handle refrigeration installations.
- Industry Expertise: Look for professionals familiar with the specific requirements of your industry, whether it’s food service, retail, or healthcare.
- References and Reviews: Verify the contractor’s track record by checking references and reading reviews.
Hiring the right professionals reduces the risk of installation errors and ensures compliance with local regulations.
5. Plan for Downtime
Replacing a walk-in cooler inevitably involves some downtime, but with careful planning, you can minimize disruptions to your business operations. Here’s how:
- Schedule Strategically: Plan the replacement during low-demand periods, such as off-peak seasons, to minimize the impact on your business.
- Arrange Temporary Storage: Rent portable cold storage units or use temporary refrigeration solutions to protect perishable inventory.
- Communicate with Staff: Keep your team informed about the timeline and steps involved to ensure smooth coordination.
6. Ensure Proper Installation
A properly installed walk-in cooler operates more efficiently and lasts longer. Focus on these critical areas during installation:
Seal Integrity
Ensure all seals and gaskets are correctly installed to prevent air leaks. Tight seals maintain consistent temperatures and reduce energy consumption.
Refrigerant Levels
Verify that refrigerant levels are accurately charged according to manufacturer specifications. Incorrect levels can lead to inefficient cooling or damage to the unit.
Airflow
Proper airflow inside the cooler is essential for uniform cooling. Avoid overcrowding the space and ensure vents are unobstructed to facilitate even temperature distribution.
Get Commercial Refrigeration Service
7. Regular Maintenance
Routine maintenance is crucial for the longevity and efficiency of your walk-in cooler. Follow these best practices:
- Regular Inspections: Schedule professional inspections to identify and address potential issues early. Key components to check include coils, fans, and gaskets.
- Cleaning: Clean all surfaces, including floors, walls, and shelving, to prevent mold growth and maintain hygiene. Clean coils and fans regularly to optimize performance.
- Performance Monitoring: Use monitoring systems to track temperature, humidity, and energy consumption. Promptly address any deviations to avoid spoilage or energy wastage.
8. Stay Compliant
Compliance with local regulations and industry standards is essential when installing or replacing a walk-in cooler. Ensure you:
- Understand Requirements: Familiarize yourself with health, safety, and energy efficiency standards applicable to your industry.
- Document Everything: Maintain detailed records of inspections, warranties, and maintenance activities for audit purposes.
- Choose Certified Units: Ensure the replacement unit meets all necessary certifications and standards for your industry.
Conclusion
Replacing a walk-in cooler is a strategic investment that requires careful planning and execution. By assessing your needs, inspecting your infrastructure, and working with experienced professionals, you can ensure a smooth and successful replacement process. Prioritize regular maintenance and compliance to maximize the lifespan and efficiency of your new cooler, safeguarding your operations and bottom line for years to come.
Walk-In Cooler Replacement Tips FAQs
What is the lifespan of a walk-in cooler?
The average lifespan of a walk-in cooler is 10 to 15 years with proper maintenance. Regular upkeep can extend its life even further.
What should I do if my walk-in cooler is not cooling?
First, check the thermostat settings and ensure the door seals are intact. If the issue persists, contact a professional technician to diagnose and repair the problem.
How do I keep moisture out of my walk-in cooler?
Ensure proper ventilation and maintain tight seals on doors and gaskets. Regularly inspect for any leaks or condensation buildup.
How often should a walk-in cooler be cleaned?
Clean your walk-in cooler at least once a month. This includes scrubbing floors, walls, and shelves, as well as cleaning coils and fans to maintain efficiency.


