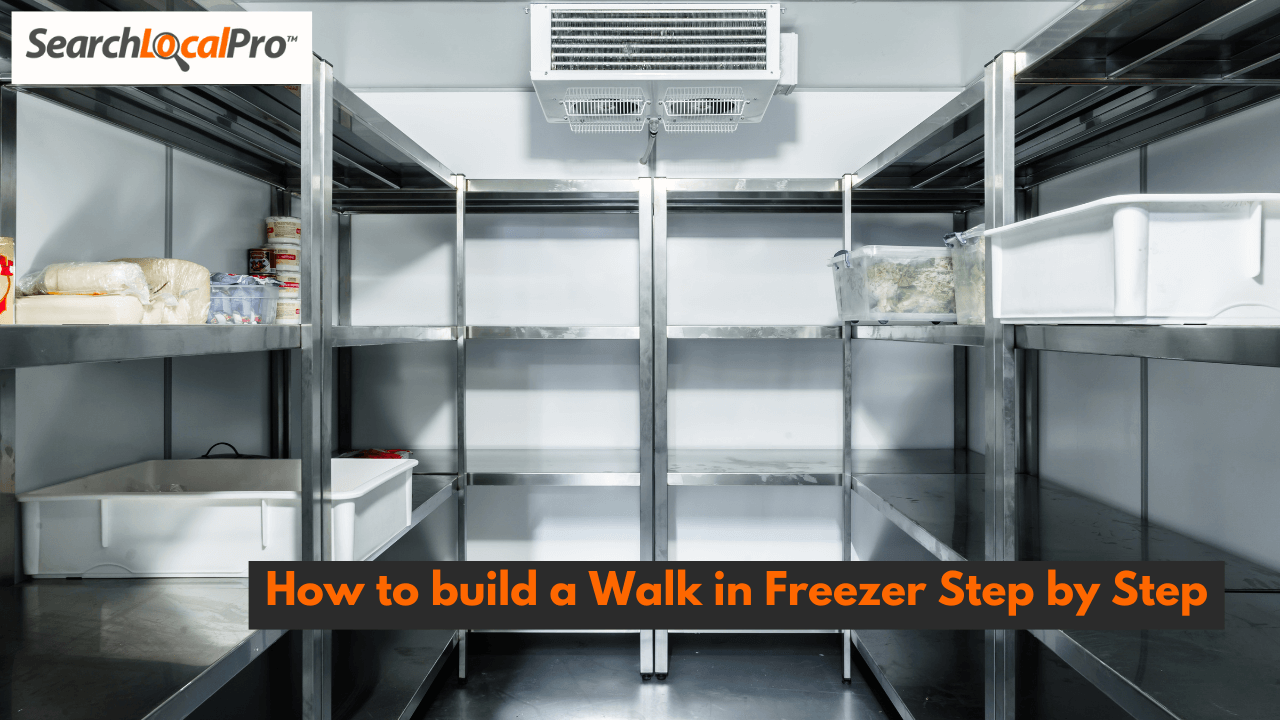
A walk-in freezer is a critical component for businesses in the food service, pharmaceutical, and medical industries. Whether you’re expanding your restaurant’s cold storage or setting up a large-scale freezer for a food processing facility, understanding how to build a walk-in freezer ensures efficient storage and preservation of perishable goods. While professional installation is recommended for complex setups, you can build a basic walk-in freezer with the right knowledge and tools. Here’s a comprehensive guide on how to build a walk-in freezer from scratch.
How to Build a Walk-In Freezer from Scratch – Step by Step
Building a walk-in freezer from scratch requires careful planning, insulation, and attention to detail. Here’s a step-by-step guide to get you started.
1. Planning and Design
Before you begin building, determine the size, location, and purpose of your walk-in freezer. Consider the type of products you’ll be storing, as this affects the temperature requirements. Select an accessible location with proper ventilation, and ensure there’s enough space for doors to open fully.
2. Gather Materials
You’ll need the following materials:
- Insulated panels (polyurethane or polystyrene)
- Vapor barrier
- Freezer compressor and condenser unit
- Flooring materials (plywood, insulation)
- Refrigeration door kit (optional)
- Tools: power drill, screws, caulking gun, and measuring tape
3. Frame the Structure
Construct the frame using steel or wood, depending on your preference and durability needs. Ensure the walls and roof are reinforced to support the weight of the insulated panels.
4. Install Insulated Panels
Insulated panels are key to maintaining cold temperatures. Attach the panels to the frame and secure them with screws or adhesive. Be sure to seal all joints with caulk to prevent air leaks. These panels will form the walls and roof of the freezer.
5. Add a Vapor Barrier
Install a vapor barrier to prevent moisture from entering the freezer, which can damage insulation and cause condensation. Use plastic sheeting or specialized vapor barrier materials and attach them securely.
6. Install the Cooling System
Set up the compressor and condenser unit, typically mounted on the roof or outside the freezer. Connect the refrigeration lines to the evaporator coil inside the freezer. It’s essential to ensure the system is installed correctly for efficient operation, so professional help may be needed at this step.
7. Seal and Test
Once the structure and refrigeration system are in place, inspect all seals and insulation to ensure no cold air escapes. Test the cooling system to confirm it reaches the desired temperature.
How to Build a Walk-In Freezer Door?
The door is a crucial component of a walk-in freezer, as it ensures temperature retention and prevents warm air from entering. Here’s how you can build a durable walk-in freezer door:
1. Choose the Door Material
Use a pre-insulated door kit or build your own using thick, insulated panels. Steel or aluminum doors with foam insulation are common for commercial applications.
2. Frame the Doorway
Frame the doorway using sturdy materials, such as wood or steel, to support the weight of the door. Ensure the frame is square and level to avoid any gaps when the door is closed.
3. Install Door Seals
Door seals or gaskets are essential to preventing cold air from escaping. Install high-quality, weatherproof door gaskets around the perimeter of the door. Ensure they provide an airtight seal when the door is closed.
4. Attach Hinges and Handle
Secure heavy-duty hinges to the door and the freezer frame, making sure they can support the weight of the insulated door. Install a robust handle or latch that can easily withstand constant use and ensures the door remains tightly closed.
5. Add Heating Elements (Optional)
For freezers operating at extremely low temperatures, consider adding heating elements to the door frame to prevent ice buildup around the seals. These elements maintain flexibility in the gasket for a tight seal.
How to Build a Walk-In Freezer Floor?
The floor of a walk-in freezer must be well-insulated and capable of supporting heavy loads. Follow these steps to build a sturdy freezer floor:
1. Prepare the Subfloor
The subfloor should be flat, dry, and level. You can use concrete for added durability, but ensure it is smooth and free from cracks. For existing floors, check for any moisture or damage before proceeding.
2. Add Insulation
Insulating the floor is essential to maintain temperature control. Place rigid foam insulation panels (at least 4 inches thick) on the subfloor. Polyurethane or extruded polystyrene insulation works well to prevent heat transfer from the ground into the freezer.
3. Lay the Vapor Barrier
A vapor barrier should be placed over the insulation to prevent moisture buildup. Use a thick plastic sheet or other waterproof materials to ensure the freezer floor stays dry.
4. Install the Floor Panels
Use heavy-duty floor panels (such as reinforced plywood or aluminum checker plates) to create a sturdy surface. These panels should be thick enough to handle the weight of shelving and stored goods. Attach the panels securely with screws, ensuring there are no gaps.
5. Seal the Floor
Use caulk or sealant around the edges of the floor panels and at any seams. This helps prevent cold air from escaping and ensures a long-lasting, energy-efficient floor.
Conclusion
Building a walk-in freezer requires precision, quality materials, and a solid understanding of insulation and refrigeration systems. By following these steps, you can create a functional, reliable walk-in freezer that serves your business needs. However, for complex installations or large-scale freezers, it’s recommended to consult a professional commercial refrigeration contractor to ensure compliance with safety and health regulations.


